OCTOBER 2023
 |
| HAMMOND TOWER |
 |
| THREE FINGER RUINS |
 |
| THREE FINGER RUINS |
 |
| THREE FINGER RUINS |
 |
| THREE FINGER RUINS |
 |
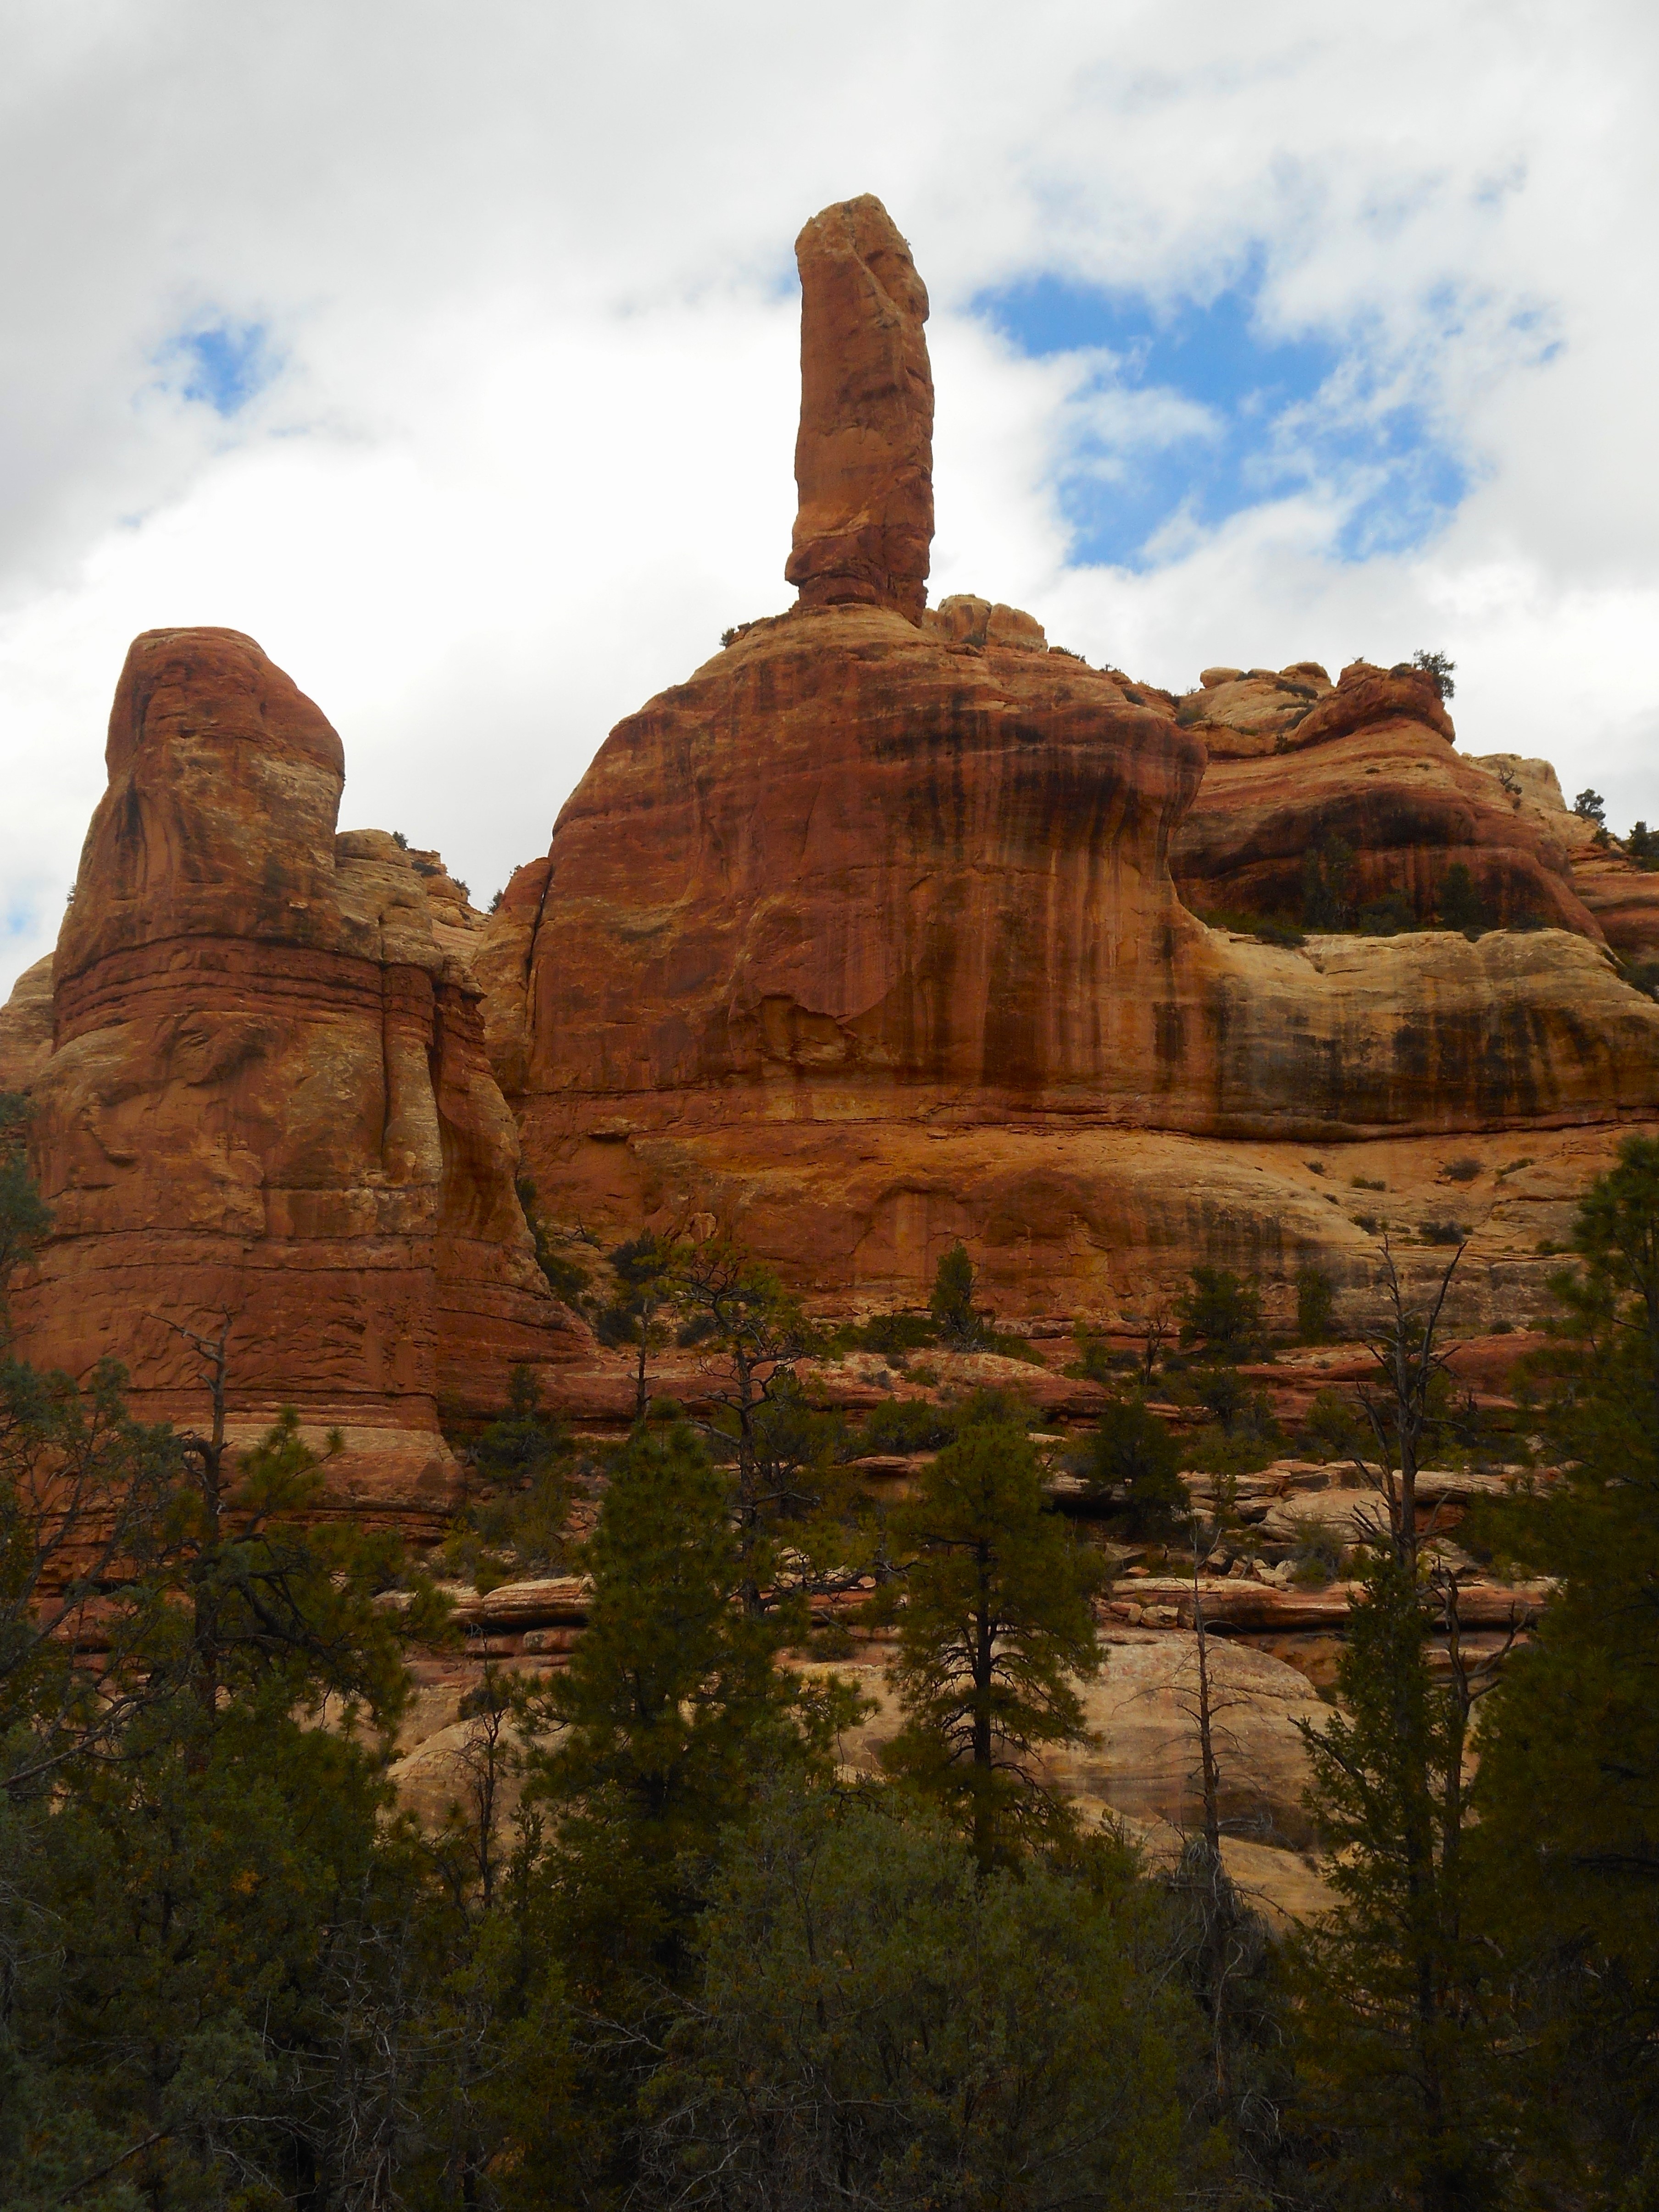
| SPIRE IN HAMMOND CANYON |
 |
| SPIRE IN HAMMOND CANYON |
 |
| HAMMOND TOWER |
 |
| THREE FINGER RUIN AND HAMMOND TOWER |
Hammond Canyon is a secluded, eight-mile roundtrip hike to a well-preserved set of ruins through a pleasant canyon containing more trees and water than are typical for most hikes in Cedar Mesa. The trailhead is located about twenty-two miles north of Highway 95 via a well-maintained gravel road that is accessible to low-clearance vehicles. However, due to the high elevation of the trailhead, the road can become impassible due to snow during colder months.
From the trailhead, you begin a long descent of roughly two miles to the bottom of the canyon. I'm not used to hikes beginning with such a prolonged downhill, so I was sure to save some energy for the climb back out. You can tell not many people hike this canyon, as the trial was a bit faint and hard to follow at times. I lost it around Hammond Tower, and had to bushwhack for while. Compared to the other hikes in the area, this was a very lush canyon with lots of trees and vegetation, and when I visited there was a fairly large stream running near Hammond Tower.
From Hammond Tower, you will need to make a fairly steep climb up the canyon wall to the Three Finger Ruins, which were very impressive and well preserved. The climb up to the ruins is not as difficult as it appears from the bottom. Once you start making your way up you will find some safe routes to the top.
I had the entire canyon to myself when I visited in October, 2023. While this hike requires a lot of effort getting down to the bottom of the canyon and back out, along with the scramble up and down to the Three Finger Ruins, it provides great scenery the entire way, with the trees, water and sandstone spires. Even on the climb back out of the canyon I was able to keep myself entertained looking for rocks along the trail.